A rope wreath has a quality that shop-bought decorations rarely manage: it looks like something weather has touched. Sisal and manila rope carry a faint fibre texture, a warm oat colour and a bit of weight, so a wreath made from them reads as rustic without any effort at distressing. The construction is also refreshingly simple. You are not cutting fiddly shapes or waiting for glue to dry. You are coiling a single length of rope into a ring and stitching it to itself.
The autumn version adds a second layer of pleasure, because the wreath becomes a frame for whatever the season is dropping on the ground: seed heads, dried grasses, a few late rosehips, a handful of oak leaves. Below is the method, including the parts most tutorials skip — how to keep the coil even, how to bury the joins, and how to attach naturals so they survive a breezy porch.
Choosing the Right Rope
Rope thickness decides the whole character of the wreath. A 10mm rope gives a chunky, generous ring that finishes quickly and holds big seed heads well. An 8mm rope is more delicate and easier to bend into a tight circle, but needs more coil and more binding. Anything thinner than 6mm starts to look like a craft hoop rather than a wreath, so save it for a small wreath or an inner accent ring.
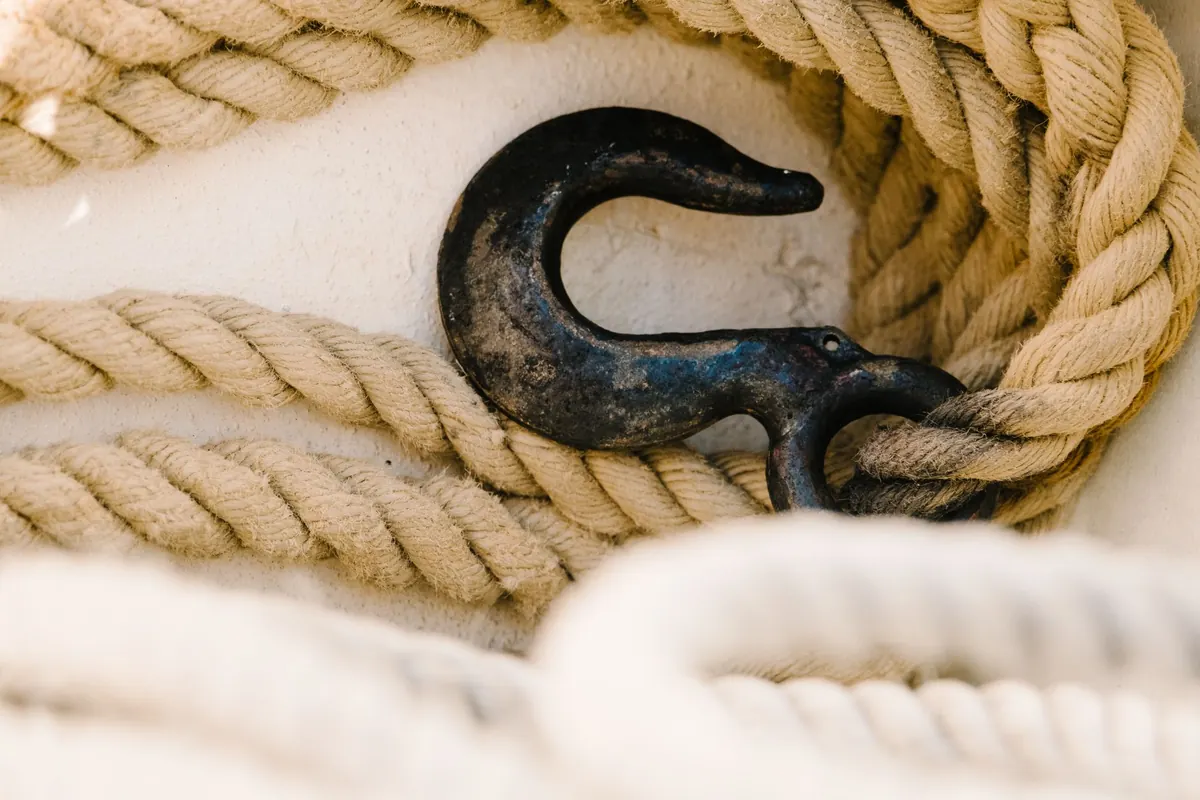
Natural fibres suit this project best. Sisal has a smooth, slightly polished look and a pale sandy colour. Manila is coarser, more golden, and has a pronounced hairy texture that catches light nicely. Jute sits between the two. All three accept dye and bleach, though for autumn you probably want the raw colour, which already sits comfortably next to dried grasses and copper-toned leaves.
Synthetic rope works and is cheaper, but it has a uniform sheen that undermines the rustic look, and it resists natural dyes. If the wreath will hang outdoors in steady rain, a synthetic core with a natural outer sleeve is a sensible compromise.
You will need roughly 4 to 6 metres of rope for a wreath around 30cm across in 10mm rope, and a little more if you work in 8mm. Buy extra. Running short three-quarters of the way round is a frustrating way to spend an afternoon.
Tools and Materials
- Rope: 10mm sisal or manila, about 5 metres for a 30cm wreath
- Strong thread: waxed linen, heavy-duty upholstery thread, or fine twine
- A curved or straight upholstery needle, plus a blunt tapestry needle for twine
- Sharp scissors and a craft knife
- Masking tape or fine twine for binding the rope ends before cutting
- A foam ring or a wire wreath frame as a former (optional but helpful)
- Natural accents: dried grasses, seed heads, oak or beech leaves, small cones, cinnamon sticks
- Florist wire, thin jute twine, or a hot glue gun for attaching accents
If you have never worked with rope before, start with manila. It grips itself, so the coil stays put while you stitch, and the fibres hide small mistakes better than the smoother sisal.
Coiling the Ring: Getting an Even Circle
Before you cut anything, wrap a strip of masking tape tightly around the rope where you intend to cut. Natural rope unravels the moment it is released, and tape holds the twist long enough for you to bind the end later. Cut through the middle of the tape.
Now decide your core. You can coil the rope freehand, which gives a slightly irregular, hand-made ring, or you can use a foam ring as a former and coil around it. The former approach is faster and gives a tidier result; the freehand approach looks more organic. For a first wreath, use a former.
The step-by-step method
- Tape and cut the rope end, then tuck it under the foam or wire frame so the raw end sits underneath the coil rather than on the face of the wreath.
- Wind the rope around the frame in a single continuous spiral, keeping each turn snug against the last. Do not pull hard enough to stretch the rope; you want the turns touching, not strained.
- Every few turns, pause and push the coil together with your palms so the gaps close up evenly.
- When you reach the starting point again, continue for one more overlapping turn so the ends are offset rather than stacked.
- Bind the coil in place at four or six points around the ring before you do any decorative stitching. This holds the structure while you work and prevents the whole thing from shifting.
The binding is the part that holds the wreath together, so do not rush it. Thread your needle with waxed linen or heavy thread, tie a knot on the inside of the ring, and pass the needle through the coil from the outside in, catching the neighbouring turns as you go. Work in a spiral pattern so the stitches form a subtle continuous line rather than scattered bands. Pull each stitch firmly but not so tight that the rope flattens.
Keeping the coil even
Uneven coils usually come from inconsistent tension, not from bad rope. Try to hold the rope the same distance from the frame with the same gentle pull on every turn. If you notice the ring growing lopsided, lay it flat on a table and press down on the thicker side while you work; the pressure redistributes the turns. Rotate the ring every few minutes so you are not always working from the same angle, which is where most lopsided wreaths begin.
Hiding Joins and Raw Ends
Joins are the detail that separates a home-made wreath from a neat one. There are two approaches, and both work.
The first is to make the join part of the design. Cut the rope end at an angle, tape it, and tuck it beneath the preceding turn so the tapered end disappears into the coil. Wrap a narrow band of contrasting twine around the join in a tight whipping, six to eight turns, and finish with a reef knot hidden on the back. A visible whipping in jute or dark twine looks deliberate, and you can repeat it at two or three evenly spaced points so the eye reads it as a pattern rather than a repair.
The second is to bury the join beneath an accent. Position a cluster of seed heads, a couple of cinnamon sticks, or a small bundle of dried lavender directly over the point where the rope ends meet. This is the more forgiving option if your rope is gnarled or frayed at the cut. Just make sure the accent is fixed securely, since it is now doing structural as well as decorative work.
Whichever method you choose, always cut ends at a taper rather than squarely. A blunt cut creates a visible step in the coil that no amount of fussing will fully hide.
Adding Natural Autumn Accents
Restraint pays here. Three to five elements arranged on one side of the wreath, or balanced across the bottom, will look better than a crowded ring. Think in terms of texture and tone: bleached grass, rusty rosehips, deep brown cones, a few dark green leaves for contrast.
Attach heavy items by wiring them to the coil rather than gluing. Wrap florist wire around the stem of a seed head, twist the ends together, and thread them through the rope with a needle, twisting again on the back. For lighter leaves and grasses, small bundles tied with jute twine and wired through the coil hold well and can be adjusted before you fix them.
Hot glue works for small, dry items and for building clusters on a card base, but avoid it on anything that will face direct sun or damp. A glue bond on a warm porch softens quickly, and dried stems pop off cleanly once the glue fails. Check any wreath with glued elements before you hang it for the season and again after a wet week.
Preparing naturals so they last
Gather leaves, grasses and seed heads on a dry day, when there is no dew on them. Bundle loosely and hang upside down in a warm, dark, airy space for a week or two until stems are brittle. Dry items hold their shape far better than fresh ones, and they will not shrink away from their bindings after a few days on the door. Skip anything that is already mildewed or soft at the stem.
If you want a preserved look, a light spray of matte sealer helps dried grasses shed less, but apply it outdoors and let everything cure fully before assembling.
Hanging and Looking After the Wreath
Weigh your wreath before hanging it. Rope is heavy, and a 30cm wreath with generous accents can easily reach a kilo. Use a proper hook or a nail rated for the load rather than a suction cup, and hang against a wall or door that stays out of driving rain where possible. Natural fibres darken and soften with weathering, which many people like, but prolonged soaking encourages mildew.
Give the wreath a gentle shake every so often to dislodge dust, and keep it out of direct sunlight for long periods if you want the rope to retain its pale colour. At the end of the season, remove the naturals, brush the rope with a soft brush, and store the ring wrapped in paper rather than sealed plastic, which traps damp.
A Wreath That Ages Well
The appeal of this project is that it improves with use. Each year you can re-dress the same rope ring with whatever the season offers — seed heads in September, dried grasses and hips in October, a few sprigs of fir once the cold arrives. The coiling and binding take an evening; the decorating takes twenty minutes.
Start with a modest length of rope and one type of accent. Get the coil even and the joins tidy, and the wreath will already look considered. Then let the garden and the hedgerow do the rest.
Photo: stevepb / Pixabay